Delivery Promise
Adding the Delivery Promise Block to your Shopify Checkout
Billing for Delivery Promise
Delivery Promise A/B Testing
Delivery Promise Frequently Asked Questions
Disabling the Shopify "Shipping Speed" in Checkout
Setting Up Delivery Promise
Setting Up the Wonderment Delivery Promise on Your Product Page
Getting Started
How to Edit or Update Your Tracking Page
Launching Wonderment with Klaviyo
Setting Up Two-Factor Authentication
Signing Up For The App
Step 1: Settings & Integrations
Step 2: Create a New Storefront Tracking Page 📦
Step 3: Launching Wonderment
Wonderment Overview & CX Training
Integrations
Attentive
Attentive - What data is available inside of Attentive events?
Capturing SMS consent on Wonderment Tracking Pages with Attentive SMS + Klaviyo
Integrating Wonderment with Attentive
Starting Templates for Attentive SMS
Corso
Fairing
Gorgias
Iterable
Judge.me
Junip
Klaviyo
Adding SMS to Wonderment-Driven Klaviyo Flows
Approving Klaviyo Email Notifications
Capturing Marketing consent on Wonderment Tracking Pages with Klaviyo Forms
Common Date Formatting In Klaviyo
Creating A Split Shipment Email
Integrating Wonderment with Klaviyo
Klaviyo "Tracking Page Viewed" Event And Flow Template
Klaviyo Flow Performance Reporting
Klaviyo Transactional Revenue Reporting
Setting Up Fulfillment Delayed Alert in Wonderment
Starting Templates for Klaviyo SMS
Upgrading Your Klaviyo Integration
What data is available inside of Klaviyo events?
Wonderment Best Practice Flows
Loop Returns
Okendo
Postscript
Capturing SMS consent on Wonderment Tracking Pages with PostScript SMS + Klaviyo
Integrating Wonderment with Postscript
Starting Templates for PostScript SMS
Rebuy
Recart
Sendlane
Slack
Stamped.io
Webhooks
Yotpo
Zendesk
Listrak / Wonderment Integration Setup
Reporting
Add a Delivery Experience Survey to your Tracking Page
Creating A Delivery Feedback Survey
Scheduled Reporting
Shipping
What carriers does Wonderment support?
What shipping and delivery events does Wonderment support?
Why send your own shipping notifications?
Shopify
Disable Shopify's default shipping notification emails
How does Wonderment handle privacy requests for customer data?
How to exclude orders from the Shopify POS
Shopify Flow Setup with Wonderment
Shopify Fulfillment Events and Order Tags in Wonderment
✉️ Update the Shopify notification emails
Tracking Page
Storefront Tracking
Shopify Native
Storefront Extensions
Tracking Block
Troubleshooting
Using A Subdomain For Your Tracking Page
What files does Wonderment add to my Shopify store?
Wonderment Tracking Page Authentication and TrackingTokens
Wonderment Hosted Tracking Pages
Intro to Tracking Pages
Tracking Page Quick Launch Guide
- All Categories
- Integrations
- Loop Returns
- Loop Returns Integration Guide
Loop Returns Integration Guide
 Updated
by Brian Whalley
Wonderment offers a Loop Returns integration to make starting returns or exchanges much easier! This feature allows your customers to start a return or exchange directly from the order tracking page. To use this feature, you must have a paid Wonderment plan and use both our Storefront Tracking Page and Tracking Page Authentication features.
If you need help migrating to a Storefront Tracking Page, Wonderment Customer Success will help you migrate your page for free - Sign up here and our team will reach out to begin the process.
How to Set Up the Loop Returns Storefront Integration
- Make sure that Tracking Page Authentication is in use. Check
Integrations->Events. If it's not active yet, follow this quick guide to activate Tracking Page Authentication. Without Tracking Page Authentication, you can add the Loop block to the page, but it will not appear for customers. - Start the integration process: Navigate to
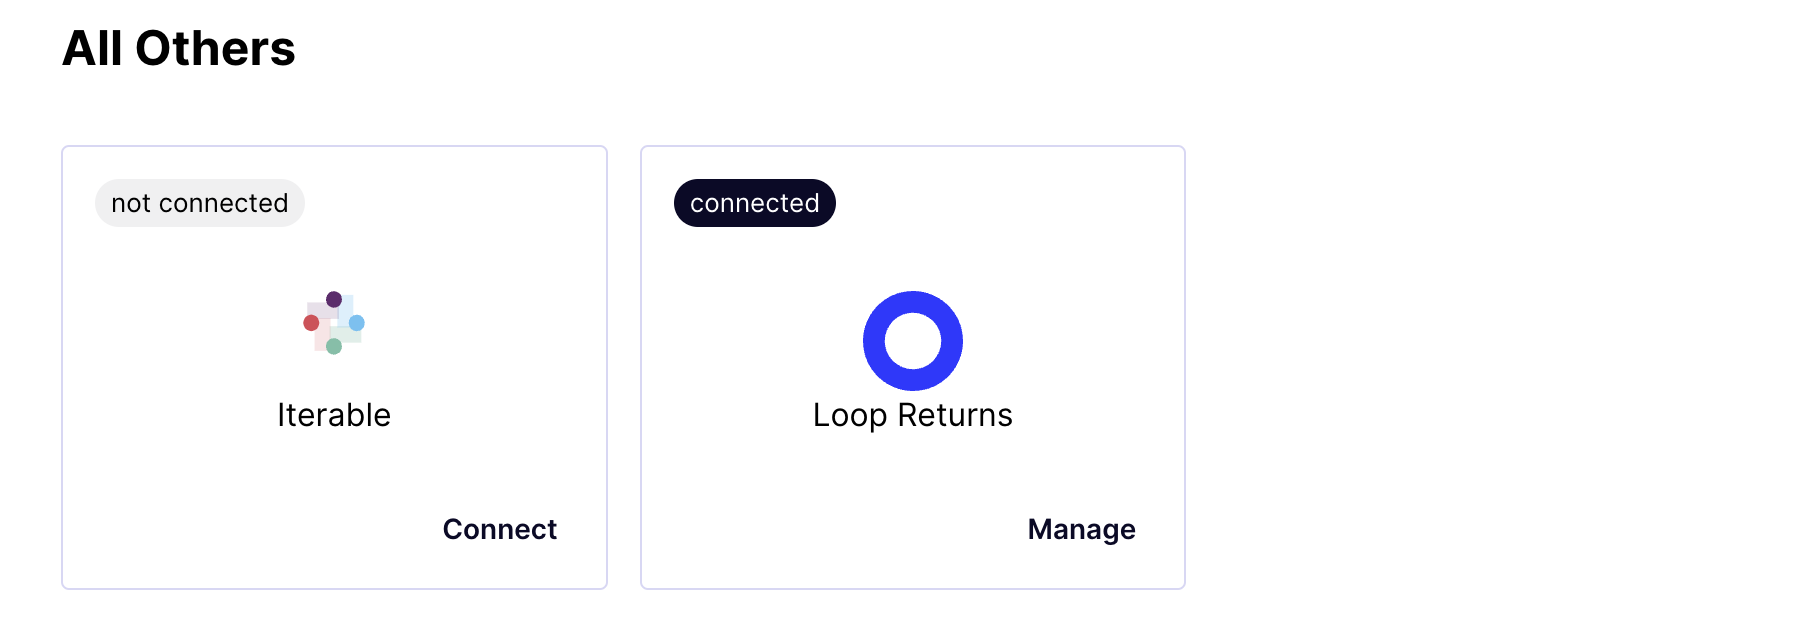
Settings->Integrations->Loop Integration.
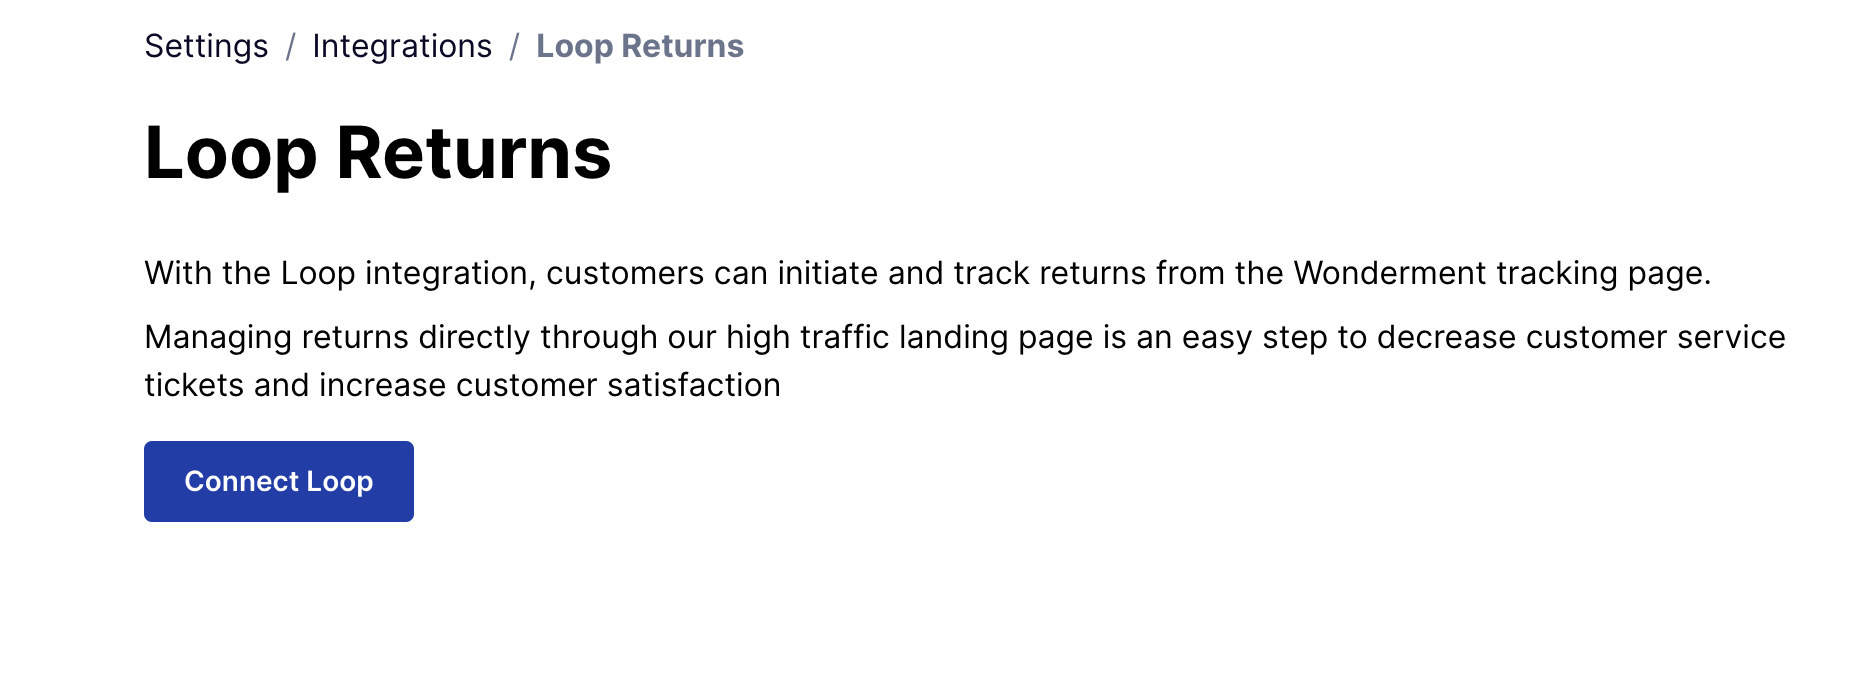
- Connect Loop: On this page, click the "Connect Loop" button.

- Refresh and Modify Storefront: The screen will refresh, and the Loop Returns block will be added to your list of Sections in Shopify. Click on "Modify Storefront" to return to the Storefront Tracking Page Editor.
- Edit Page in Theme Editor: Once back in the Storefront Tracking Page Editor, click "Edit Page in Theme Editor" for the Shopify theme you're currently using.
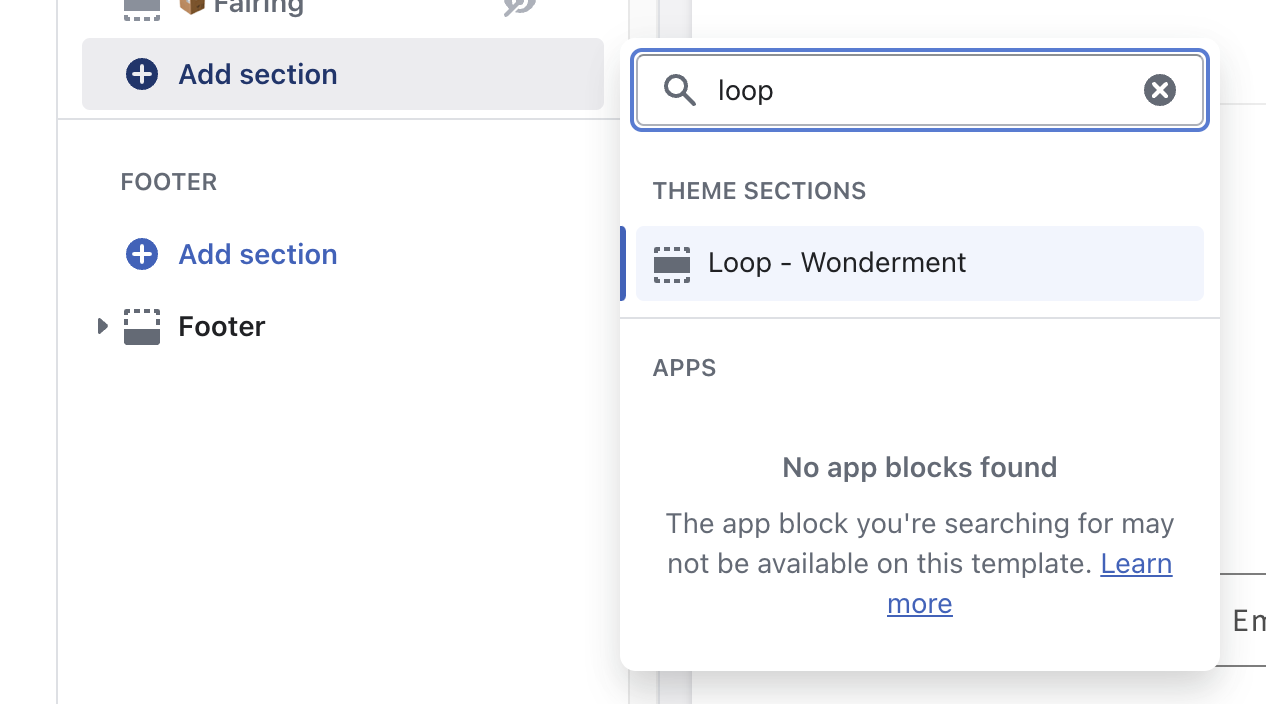
- Add the Loop - Wonderment section: Here, you'll add the Loop - Wonderment section to your page. Click "Save" in the top-right of the theme editor.
Note: The Loop Section will not be visible on the page until after you click Save.
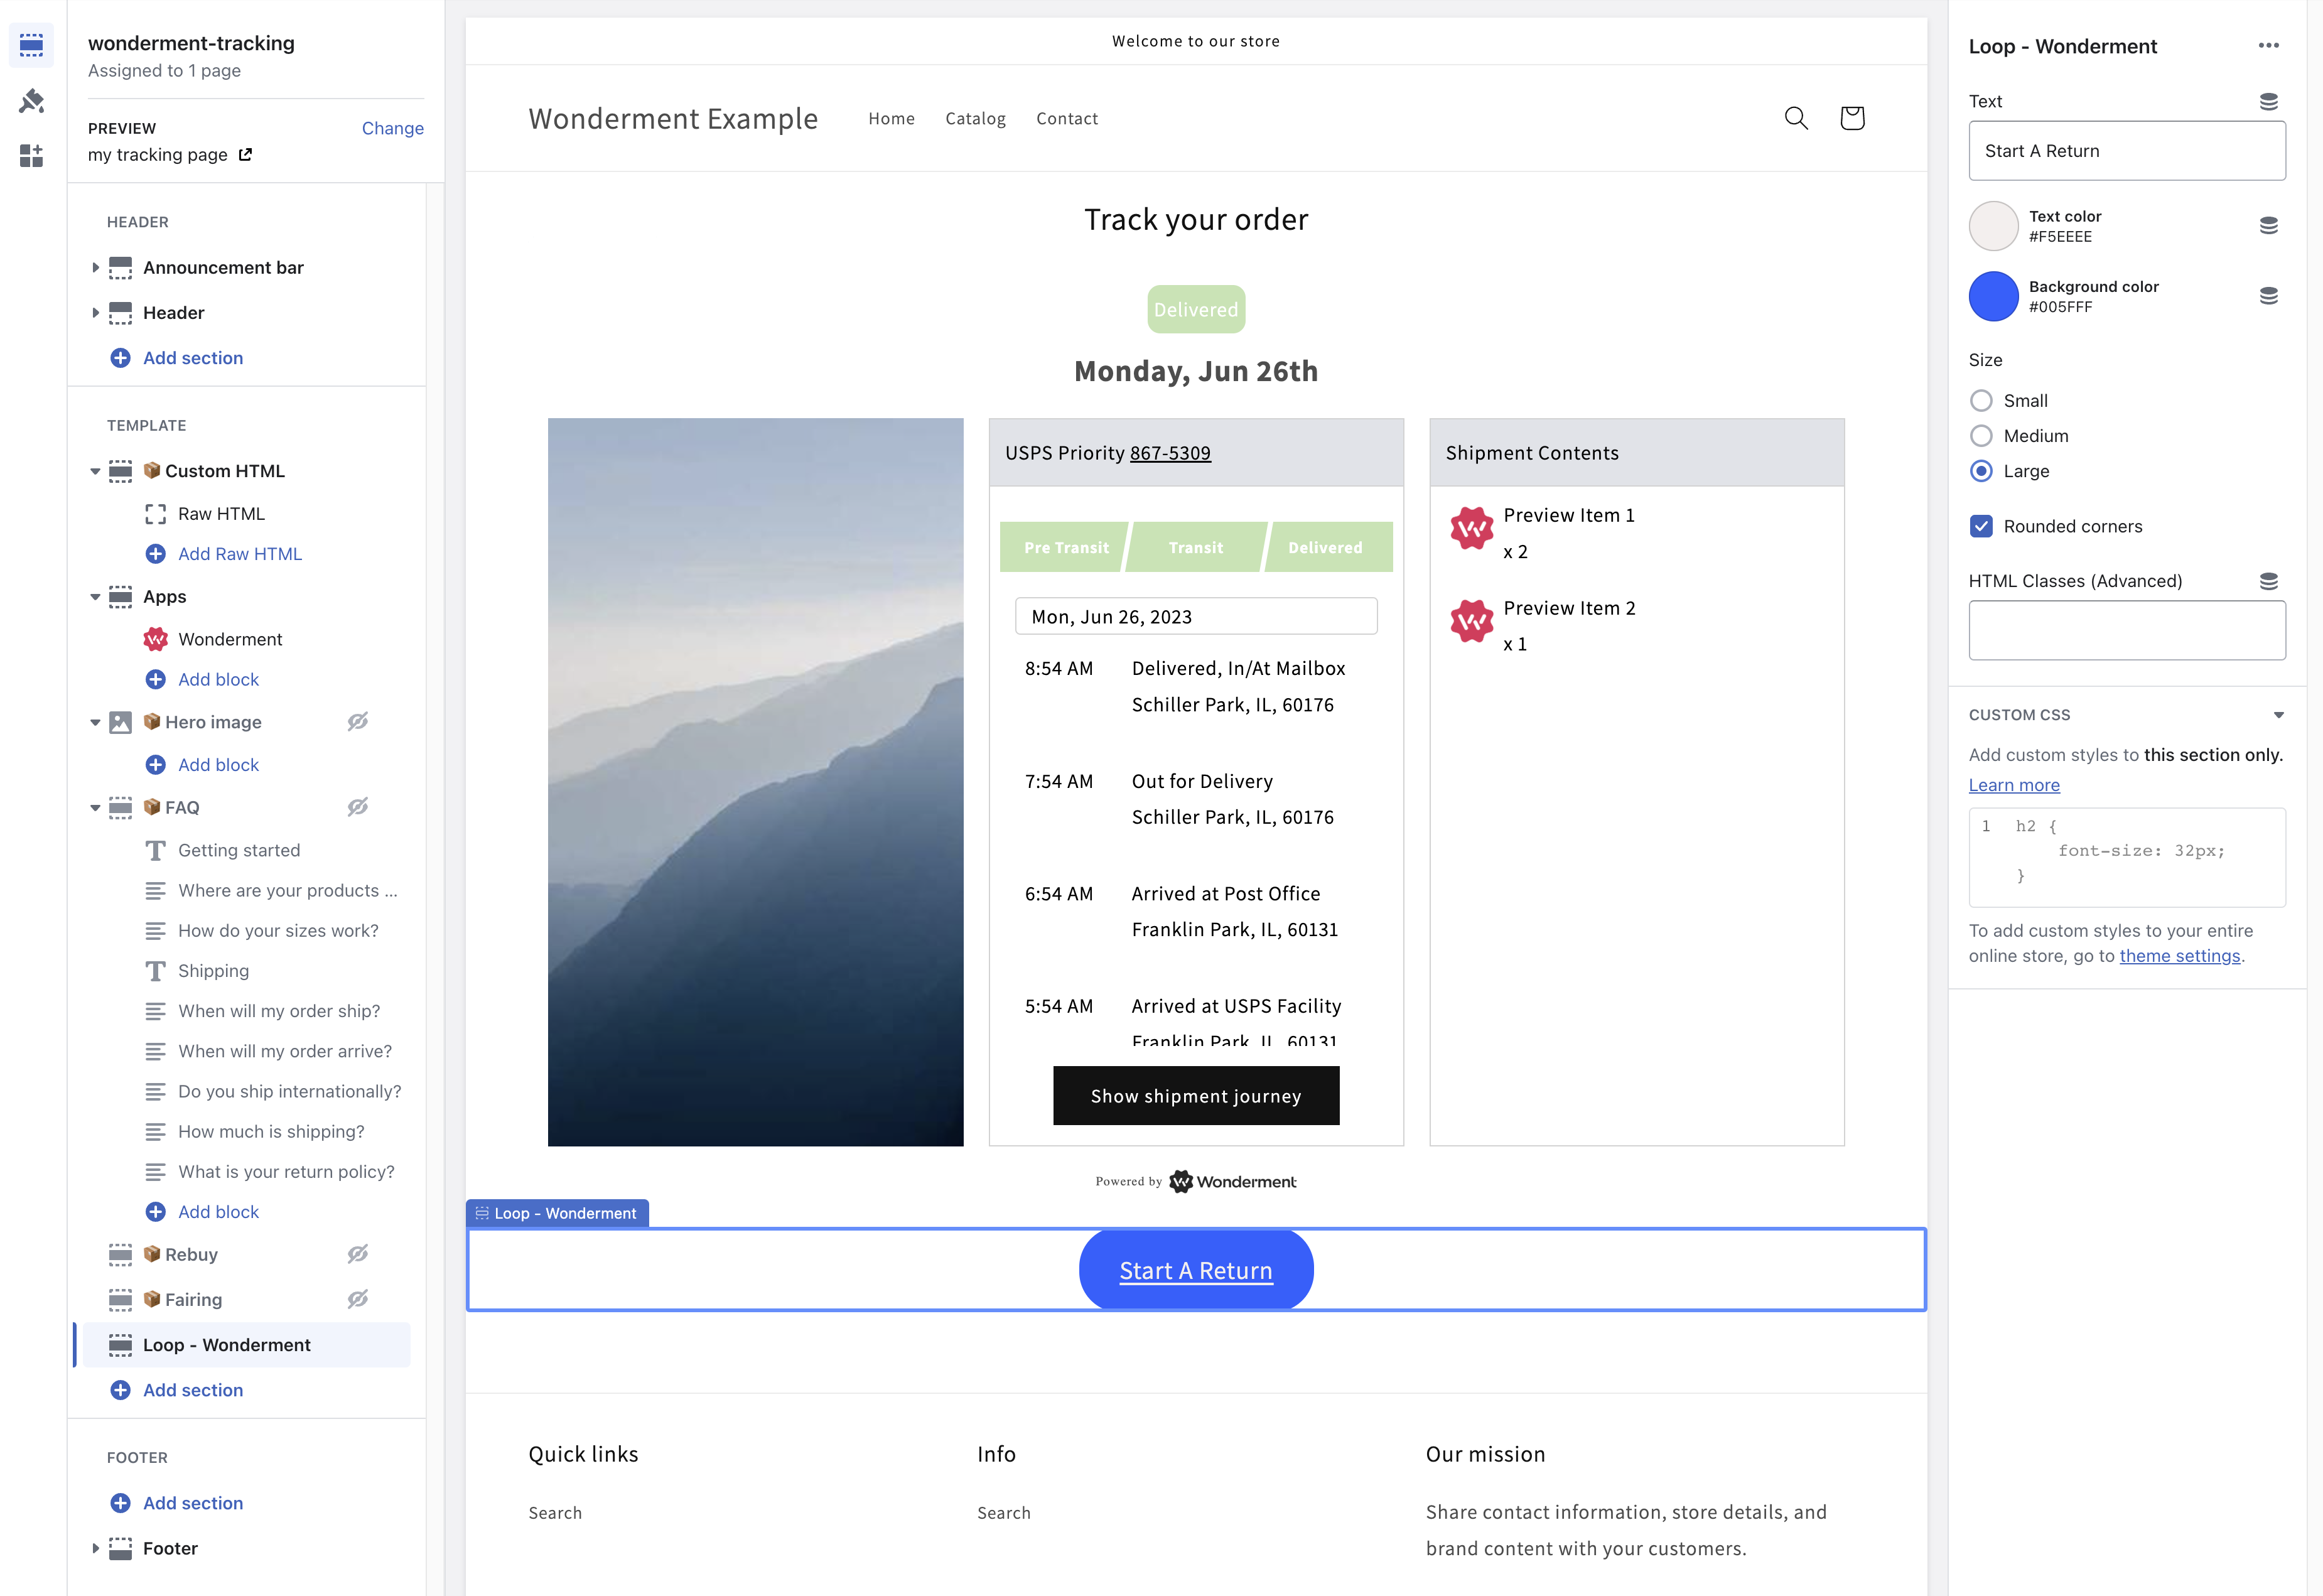
When you're in the page editor, the Loop block will always be visible for your convenience when editing and styling. On the live page, the "Start A Return" button will only be visible after a successful shipment search.
- Customize: You've successfully set up the Loop integration!
You can further customize the appearance of the "Start A Return" block in Shopify's editor. There are settings available to customize the button text, color, size, and you can add additional CSS rules or classes for further styling.